
Set up Prycebook
The five things to do in your first session, in order.
Prycebook keeps everything you sell in a pricebook, and builds quotes from it. Once your catalog is in, a quote takes a few taps instead of a spreadsheet. This is the shortest path from a new account to a quote your customer can accept.
1. Add your company details
Your name, contact details and logo print on every quote, so start here.
- Open Settings.
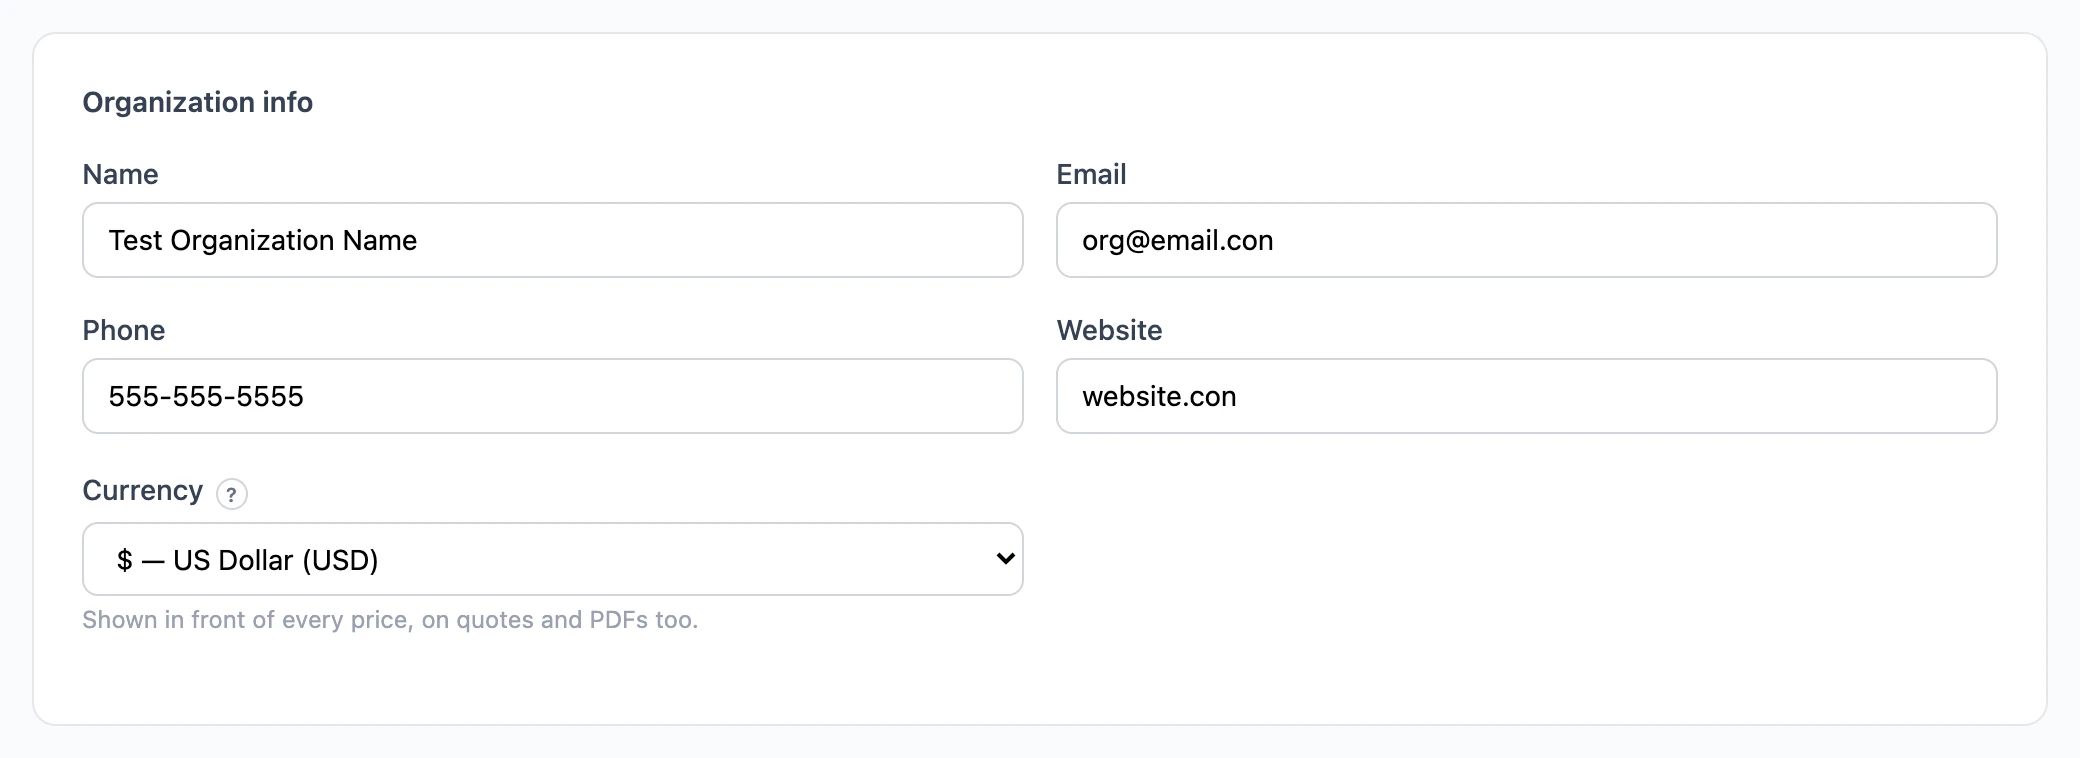
- Under Organization info, fill in the name, email, phone and website your customers should see, and pick your Currency.
- Fill in Business address.
- Under Logo, choose an image. It uploads as soon as you pick it.
Colors, layout and quote numbering can wait; Customize how quotes look covers them.
2. Create a pricebook
Open Pricebooks. If a starter template matches your trade, one click gives you a ready-made price list to edit. Otherwise choose New Pricebook. See Pricebooks, categories and tags.
3. Add what you sell
Create a few categories, then add items to them one at a time (Add and edit items), or bring in an existing price list all at once (Import items from a spreadsheet).
4. Build and send your first quote
Open Quotes, choose New Quote, add items from your pricebook, pick the customer, and send it. Build a quote and Send a quote and get it accepted walk through each step.
5. Invite your team
If other people quote for your business, invite them from Settings → Team. See Invite your team.